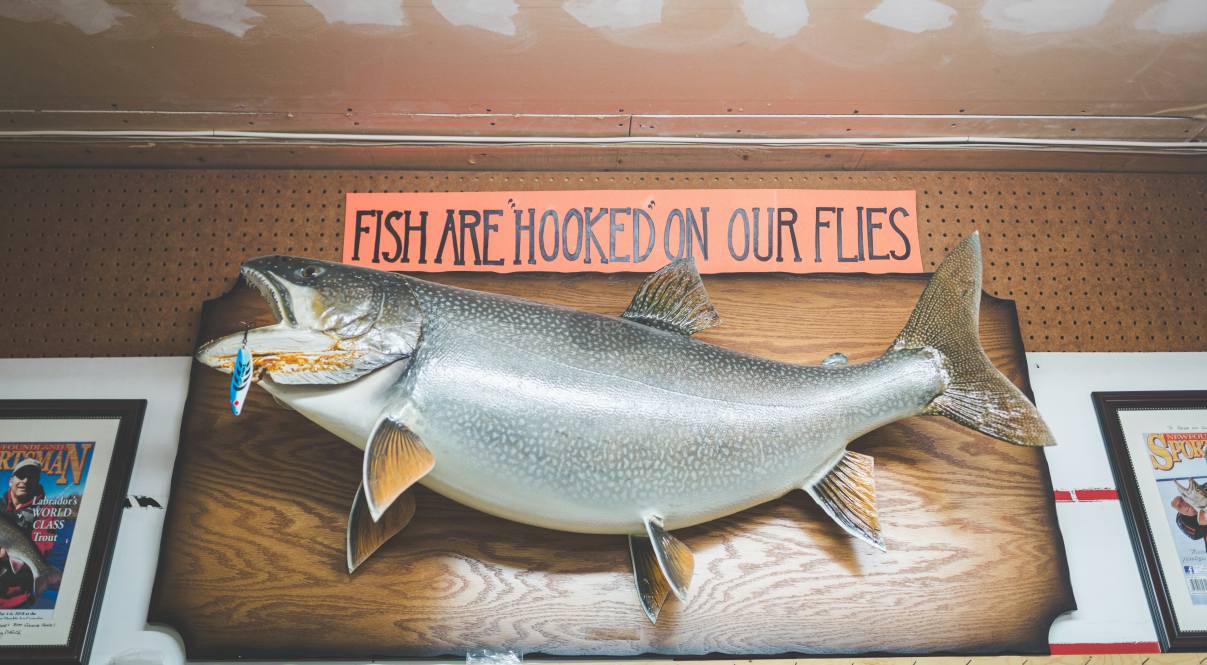
Reeling in a monster fish is an unforgettable experience. But what happens after the photo? Seeing your prize catch fade away over time can be a real bummer. Fish taxidermy offers a solution, transforming your once-living trophy into a lasting conversation piece. However, there can be confusion about the process, cost, and even how to prepare the fish itself.
This blog post will answer all your questions about taxidermy a fish! We’ll explore two popular methods: traditional mounting using the actual fish, and replica mounts for a less hands-on approach. And for the adventurous DIYers out there, we’ll even provide a glimpse into the world of do-it-yourself fish taxidermy.
Can You Taxidermy a Fish?
Yes, you can taxidermy a fish! It’s a popular way for anglers to preserve a prized catch or for people to commemorate a special fishing trip. There are two main methods: real fish vs fake fish.
Real Fish Mount
This is a conventional practice. Here’s a breakdown of the process:
- Preserving the Fish: The fish should be as fresh as possible to get the best tasting results. Optimally the transportation needs to be done immediately after it is caught.
- Skinning and Cleaning: The skin, fins, and head of the fish together are gently removed from the taxidermist. After that, they will take away all the meat and tissues.
- Shaping and Drying: The form is replicated to represent the body of the fish. First, the skin is dried, which is followed by the application of the chemicals for its preservation, and in the end, is tightened over the chest mold. At this stage, it’s carefully dried so it will not shrink or crack.
- Painting and Finishing: Because drying may eventually lead to some color fading, the fish’s skin will be repainted to match its natural colors. Such a task will require placing the eyes and putting the fins back in.
Reproduction Fish Mount
It is a relatively fresh approach that the real fish is not involved. Here’s how it works:
- Capturing the Details: The taxidermist will capture particular high-quality photos of the fish from different sides. They might as well measure some. Listen to the given audio and select the correct response.
- Creating the Mold: Based on photographs and measurements, a mold is carved out to look like the fish’s body form.
- Casting the Replica: At this stage, the original fish is used to make the mold, out of which a fiberglass or resin replica is turned.
- Painting and Finishing: The next step is painting the replica so that it acquires the colors and markings of the fish. Besides fins, other details are also inserted for a realistic appearance.
How Much Does It Cost to Mount a Fish?
The cost of mounting a particular fish can also vary depending on the size and type of the fish and the taxidermist that you choose to work with. On average, the cost can run from $200 to $800 or higher.
Sometimes you may have to pay for larger fish or a mount that is more intricate, while at other times you may purchase a smaller fish or a simple mount.
The time it takes to hang the fish is also dependent on the artist and their workload, like any kind of artwork. Normally, the entire procedure might take several weeks to a few months.
Talking to the taxidermist beforehand about the timeline is imperative because it helps you to plan the time frame you expect the stuffed mount to be completed.
How to Prepare For Fish Taxidermy?
Here’s what you should do to prepare a fish for taxidermy after you catch it:
- Act Quickly: Freshness is key! The sooner you start preserving the fish, the better the final mount will look. Ideally, you should get it to a taxidermist within 24 hours.
- Minimize Handling: Fish are delicate, so handle them carefully to avoid damaging the fins or skin.
- Don’t Gut or Cut: Leave the fish whole. The taxidermist will take care of removing the insides during the mounting process.
- Keep it Cool: If you can’t get the fish to a taxidermist right away, freeze it as soon as possible. Wrap the fish in a wet towel or damp cloth and place it in a plastic bag (not newspaper!). Make sure the bag isn’t airtight, and freeze the fish flat on a solid surface.
Here are some things to avoid when keeping a fish for taxidermy:
- Don’t use Newspaper: Newspaper ink can stain the fish’s skin.
- Don’t Let it Dry Out: Drying will damage the skin and make it difficult to mount.
- Don’t Pack it with Ice: Direct contact with ice can damage the skin.
- Don’t Store it for Too Long: The longer you wait, the lower the quality of the mount will be. Ideally, freeze the fish within 6 hours of catching it.
How To Taxidermy a Fish On Your Own?
Taxidermy a fish seems like a technical job but you can still do it yourself by following our guide. Here is the way how you can make a fish taxidermy.
For this purpose, you need the following tools and materials:
- Fish
- Cardboard for tracing
- Carving foam (can be purchased online)
- Knife for cutting and skinning
- Scrape tool for removing meat and scaling
- Wire cutters for the backbone
- Bucket and denatured alcohol for soaking
- Pins for positioning the fish
- Sewing kit for stitching up the fish
- Glass eyes for replacement
- Mod Podge and tissue paper for Fin treatment
- Acrylic caulk
- Epoxy sculpt for fine refinements
- Paints for the final touches
Steps for Making the Fish Specimen
- Create a Template: Trace the fish on cardboard to create a template for the foam insert.
- Skinning and Cleaning: Carefully cut and remove the fish’s skin, preserving its entirety. Use the scraper tool to remove all flesh.
- Removing Backbone: With wire cutters, detach the backbone without damaging the skin.
- Soaking and Drying: Remove eyes and soak the skin in a 50/50 water and denatured alcohol solution for 2-3 days. Then, dry the skin thoroughly.
- Carving the Insert: Carve the foam to match the fish’s shape and size, considering where it will be inserted.
- Inserting the Foam: Once dry, insert the foam carving into the fish skin. Secure it with stitches and pins, allowing it to dry completely.
- Treating Fins: Apply Mod Podge and tissue paper to the fins for reinforcement. Let them dry completely.
- Preparing for Paint: Patch any holes, ensure fins are flexible yet firm, and add details if desired.
- Painting: Apply multiple layers of acrylic caulk, using epoxy sculpt for fine adjustments.
- Final Painting: Carefully paint the fish with multiple coats, allowing drying time between each layer.
- Attaching Eyes: You can insert glass eyes during the final painting stage.
Additional Tips:
- Wear gloves throughout the process.
- Consider using a professional tanning solution instead of borax for better preservation.
- This is a multi-day process, allowing for drying time at various stages.
- There are resources online and taxidermy suppliers that can provide more in-depth information and materials.
Conclusion
Fish taxidermy is a method to memorialize that certain special fish no matter how small or big it is. You have a choice of either skin mounts or replica mounts if you’re looking to be less active in the stuffing process.
The expense and the number of days for finishing the task will differ depending on the fish and the taxidermist.
If you would like to try DIY fish taxidermy yourself then the article provides a step-by-step guide and various other tips that may help you. Please, pay close attention to the way you will handle and prepare your fish mount since the quality of the mount depends on it.


Add comment