
Published: March 2023 | Updated: July 2026
Safety toe boots, like composite toe and steel toe, are popular and frequently used in demanding workplaces, so they tend to accumulate dirt and grime easily, which can lead to wear and tear.
This guide covers steel-toe and composite-toe boots made from leather, synthetic, and rubber. The cleaning process overlaps a lot between these, but rubber work boots have their own routine that’s actually simpler in some ways.
We’ll break down their care guide and show you how to properly clean your boots and make them last longer.
Does the Material Affect How You Clean Them?
Yes, a little, and here are the reasons why.
Steel Toe vs. Composite Toe Boots
Steel-toe boots use a steel cap under the upper material. Steel doesn’t break down from water exposure, but it can rust if moisture gets trapped against it for a long time. That’s one reason drying matters more than people think.
Composite toe boots use non-metal materials, usually carbon fiber, Kevlar, or reinforced plastic, to meet the same safety ratings without the extra weight.
Composite material is more sensitive to heat and strong chemicals than steel, so skipping the hairdryer and bleach isn’t optional. It’s how you keep the cap from cracking or discoloring over time.
If you’re wearing composite toe boots, just go a little easier around heat and harsh cleaners. Steel toe boots need extra care when drying to keep rust from forming.
Leather and Synthetic Uppers vs. Rubber Boots
Here’s where the upper material matters more than the toe cap itself.
Leather and synthetic uppers need a gentle, controlled cleaning process. Too much water, too much heat, or the wrong cleaner can dry out leather, crack it, or warp the shape.
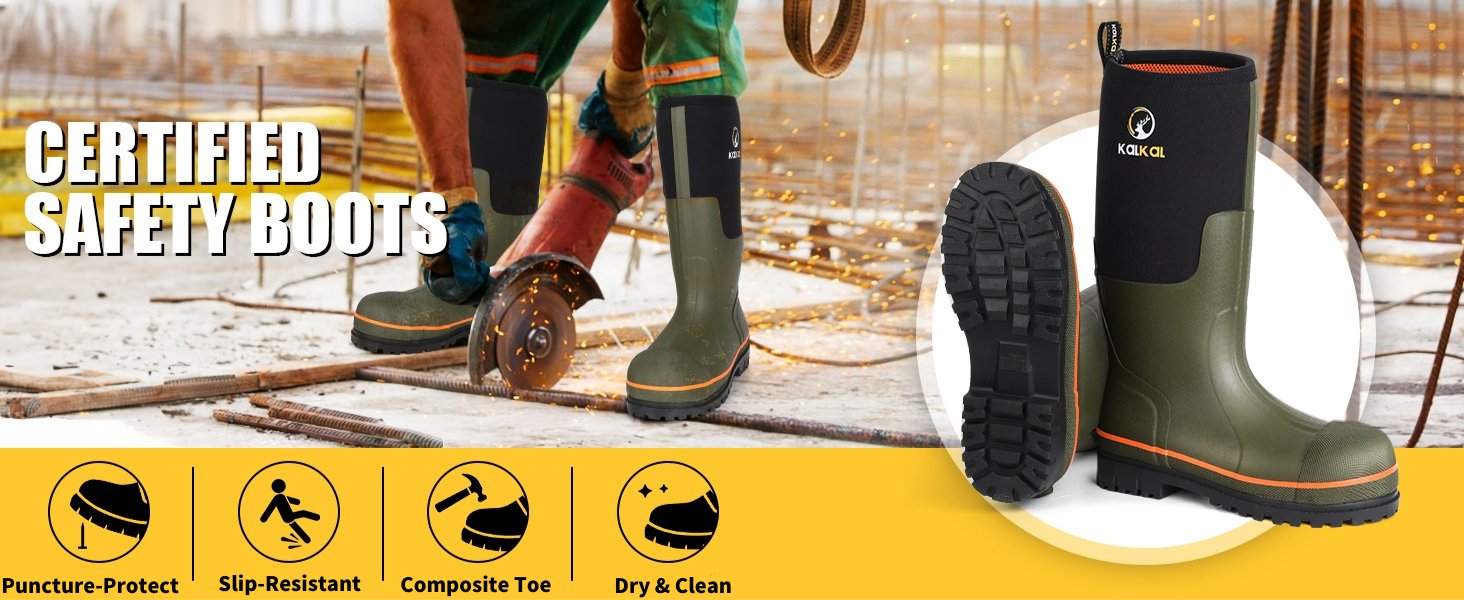
Rubber safety toe boots are built differently and honestly, they’re much more forgiving. Rubber is already waterproof, so you don’t have to worry about oversaturating it the way you do with leather.
Most rubber work boots can be rinsed with a hose, scrubbed with a stiff brush, and left to dry without the extra care leather needs.
If you own a pair of rubber steel-toe or composite-toe boots, here’s the routine:
- Hose off loose mud and debris first, especially around the sole and the seam where the boot meets the outsole.
- Scrub with a stiff brush and warm soapy water. Rubber can handle more scrubbing pressure than leather without damage.
- Pay extra attention to the tread pattern on the sole. Mud and small rocks pack into the grooves and reduce traction if left there.
- Rinse thoroughly and let the boots air dry upside down (heel up) so water drains out instead of pooling inside.
- Skip the leather conditioner step entirely. Rubber doesn’t need it.
- A light coat of rubber protectant or UV spray a few times a year keeps the material from getting stiff or fading in direct sunlight, but this is optional, not required after every cleaning.
The big advantage of rubber safety toe boots is that you can clean them fast and often without worrying about damage.
If your job means daily mud, standing water, or wet job sites, rubber holds up to frequent washing far better than leather does.
Preparation: What Will You Need For Cleaning?
Composite toe work boots are not the same as casual boots due to their structure and material quality.
Here’s a list of the essential tools and materials you’ll need to properly clean your composite boots:
- A stiff bristle boot brush, plus an old toothbrush for tight seams
- A soft bristle brush for the upper material
- Mild soap or a dedicated boot cleaner. Saddle soap works well on leather
- Warm water
- A soft cloth or sponge
- Leather conditioner (leather boots only)
- Waterproofing spray or wax
- Rubber gloves and safety glasses if you’re using a stronger cleaner than dish soap
If you’re using a stain remover or degreaser with actual solvent in it, wear gloves and eye protection.
Repeated skin contact adds up, and nobody wants cleaner splashing into their eyes over a good pair of boots.
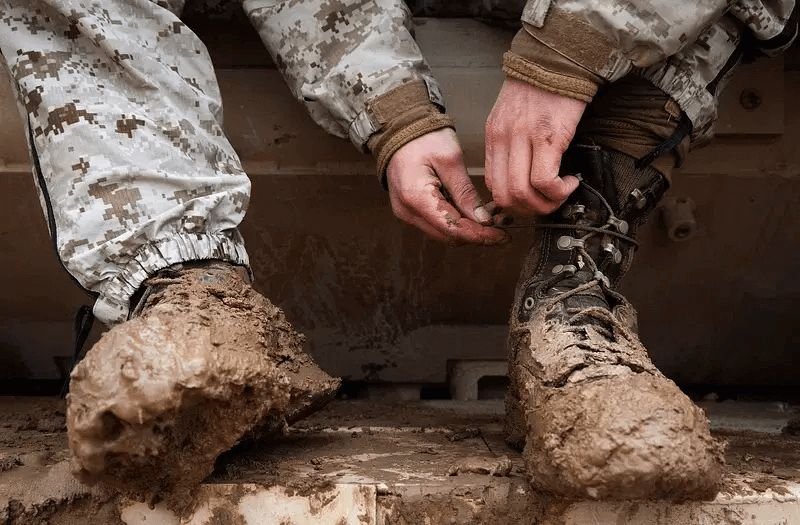
Steps to Clean Your Composite Toe Boots
To properly clean your composite work boots, it’s important to follow a few simple steps to ensure that they are thoroughly cleaned without causing any damage to the material.
Step 1: Remove Laces and Inserts
Do this first, every time. Wet laces take forever to dry and start to smell if left in. Insoles hold onto moisture and bacteria more than any other part of the boot.
Wash insoles separately with mild soap and let them dry fully before putting them back. This one step solves a lot of odor problems people blame on the boots themselves.
Step 2: Knock Off the Loose Dirt First
Don’t jump straight to scrubbing. Tap the soles together to knock off caked mud, then go over the whole boot with a dry stiff-bristle brush.
Pay attention to the seams and the crease where the toe cap meets the upper. Wet dirt turns to mud and grinds into the material when you scrub, and loose grit acts like sandpaper on leather and synthetic uppers.
Step 3: Wash with a Mild Soap Solution
Mix a small amount of mild soap or a dedicated boot cleaner into warm water.
For lightly soiled boots, dampen a cloth in the solution and scrub the surface in small circles, focusing on any stained or dirty spots.
For heavily soiled boots, soak the lower portion in the soap-water mix for a few minutes to loosen the grime before scrubbing.
For seams, eyelets, and the tight crease around the toe box, use the toothbrush. That’s where dirt hides, and a bigger brush can’t reach.
Don’t soak the boot completely, especially if it isn’t waterproof. Too much water sitting in leather can warp the shape and break down the material over time.
A damp cloth is enough, not a dripping one.
Step 4: Clean the Toe Cap Area Specifically
This step gets skipped a lot, and it shouldn’t be. The toe cap is the entire reason the boot exists.
Apply a small amount of soap solution directly to a cloth and clean the toe cap area on its own, going over it a second time after you’ve cleaned the rest of the boot.
For stubborn scuffs, a paste of baking soda and water works well. Apply it, let it sit for two or three minutes, then work it off with the soft brush.
This isn’t just about looks. Dirt buildup in that seam is exactly where moisture gets trapped, and on steel-toe boots, trapped moisture against the cap over months is how rust starts from the inside.
Step 5: Rinse
Wipe the boots down with a clean, damp cloth to remove all the soap. Leftover soap left to dry can leave a dull film on leather and can even attract dirt faster next time you wear it.
Step 6: Dry Them the Right Way
Air dry only, in a well-ventilated spot, away from direct sun and away from any heat source. No radiators, no hairdryers, no space heaters to speed things up.
Heat is the fastest way to crack leather and warp a composite toe cap.
Stuff the boots loosely with newspaper or a boot form. This pulls moisture out from the inside and keeps the boot from collapsing into a strange shape while it’s still damp.
A low-heat boot dryer that just circulates air (not one that blasts heat) is a good investment if you clean boots often.
Step 7: Condition and Reprotect
For leather boots, once they’re fully dry, apply a leather conditioner to keep the material from drying out and cracking.
Skip this step for too long, and the leather gets stiff and starts splitting at the flex points within a year or two.
For all boots, leather or synthetic, finish with a waterproofing spray or wax. This keeps dirt and moisture from soaking into the material in the first place, which means less scrubbing is needed next time.
What Not to Do
Check out some mistakes you should pay attention to since these mistakes are common and expensive:
- No washing machine, no dryer. Agitation breaks down glue bonds and stitching, and heat from the dryer warps leather and composite materials.
- No bleach or harsh solvents on composite toe boots. It can discolor and weaken the cap material.
- Don’t scrub the toe cap seam hard with a stiff brush on composite boots. Use the soft brush or toothbrush there instead. Composite material handles abrasion worse than steel or rubber.
How To Get Rid of Boot Odor?
Sweat and trapped moisture cause smelly boots, not the boots themselves. A few methods that actually work:
- Let boots dry completely between wears. If you’re on a two-boot rotation, this alone solves most odor problems.
- Baking soda overnight. Sprinkle it inside, let it sit overnight, and dump it out in the morning.
- Cedar shoe inserts or boot trees. They absorb moisture and resist odor-causing bacteria better than a one-time treatment.
- Rubbing alcohol spray. A light mist inside the boot kills odor-causing bacteria fast. Let it air out before wearing.
- Moisture-wicking wool socks. Sweaty feet are the real source of most boot odor, so better socks mean less moisture for bacteria to feed on.
- Tea tree oil. A few drops on a cotton ball left in the boot overnight work as a natural antibacterial and deodorizer.
- Good foot hygiene. Wash and fully dry your feet daily, especially between the toes, before putting on clean socks.
- Antibacterial foot powder or spray, applied to your feet before the boots go on.
- Used tea bags. This might sound odd, but it works. The tannins absorb odor. Leave it overnight and then remove before wearing.
- Rotate boots. Wearing the same pair every day means they never get a full 24 hours to fully dry. Even a second pair to alternate makes a real difference.
Properly Store Your Boots
Keep boots upright, in a cool, dry spot away from direct sunlight and heat sources. Sun exposure fades and dries out leather over time, and heat near a furnace or radiator does the same thing faster.
A boot tree or newspaper stuffing keeps the shape intact so leather doesn’t crease and crack at the same spots every time you put them on.
Rubber boots are less picky about storage; just keep them away from direct sun long term so the material doesn’t get brittle.
Check for cracks, sole separation, and flattened insoles while you clean. Catching a small problem early is a lot cheaper than replacing the whole boot after it fails on the job.
Conclusion
The cleaning steps for steel toe and composite toe boots are mostly the same. Knock off loose dirt, hand wash with a mild solution, give the toe area specific attention, dry slowly away from heat, then condition and waterproof if the upper is leather or synthetic.
Rubber safety toe boots skip most of that fuss entirely. A hose, a stiff brush, and some soap get them clean fast, and there’s no conditioning step to worry about.
Composite toe boots need a gentler touch around heat and chemicals, and steel toe boots need extra attention to drying so rust doesn’t form. Clean them regularly, and a good pair of safety boots will easily outlast more years.