Most of the boot damage people blame on “cheap quality” actually comes from avoidable care mistakes: leaving mud to dry on the surface, tossing wet boots next to a heater, or stuffing them in a garage corner for months.
With the right habits, a quality pair of rubber boots can last seven to ten years. Without them, you’re looking at two to three.
This guide covers everything: cleaning, drying, storage, stretching, repairing leaks, and a few products worth knowing so you can get the most out of whatever pair you’re working with.
Common Signs Your Rubber Boots Need Maintenance
Catching problems early is always cheaper than replacing a pair. Watch for these:
- Fading or chalking:A white or gray cast on the surface of darker boots is a sign of UV oxidation. The rubber isn’t dead yet, but it’s losing elasticity faster than it should.
- Cracking:Small surface cracks around the ankle flex zone or toe box are an early warning. Deep cracks that reach the inner layer will start to leak.
- Leaking:Fill the boot with water and press the sides. Any seepage around seams, the sole join, or the boot body means the waterproofing is compromised.
- Persistent odor:Some smell after hard use is normal, but odor that doesn’t go away with airing out usually means bacteria or mold has colonized the insole or liner.
- Sole separation:If the outsole is peeling away from the upper, especially at the toe, the boot cement or vulcanization bond has failed. This is repairable if caught early.
How to Clean Rubber Boots Properly?
Cleaning is the single most impactful maintenance habit. Boots that get rinsed after every outing consistently outlast those that don’t.
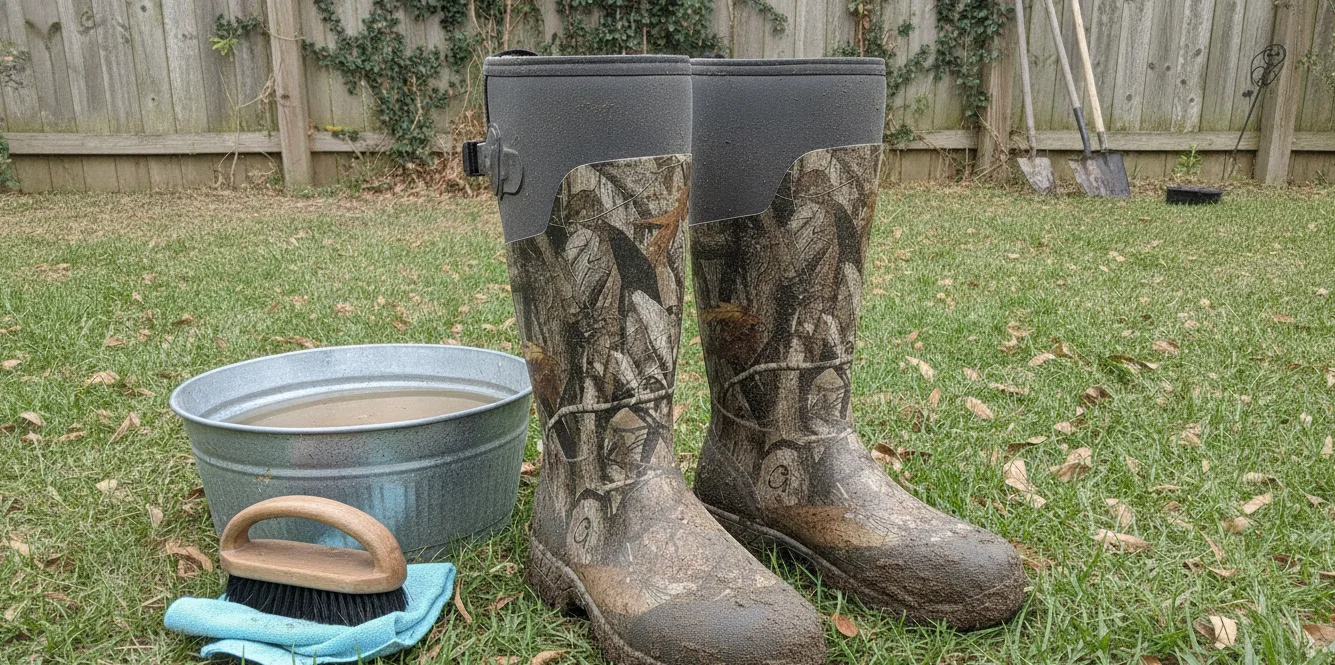
Remove Loose Dirt and Mud
Before you wash it, knock the boots together over a trash can or slap the soles against the ground to dislodge dried mud.
Use a stiff-bristle brush or a dedicated boot brush to break up anything caked along the welt and outsole grooves. Skipping this step and going straight to water just turns everything into mud-water that smears across the boot rather than coming off.
Wash With Mild Soap and Water
Fill a bucket with cool or lukewarm water and add a small amount of mild soap or dish soap. Use a soft cloth or sponge for the main boot body and a stiffer brush for textured areas.
Avoid anything with bleach, petroleum distillates, or strong degreasers. These strip the natural oils from rubber compounds and accelerate cracking. Products marketed as “heavy-duty” cleaners are usually too harsh for rubber.
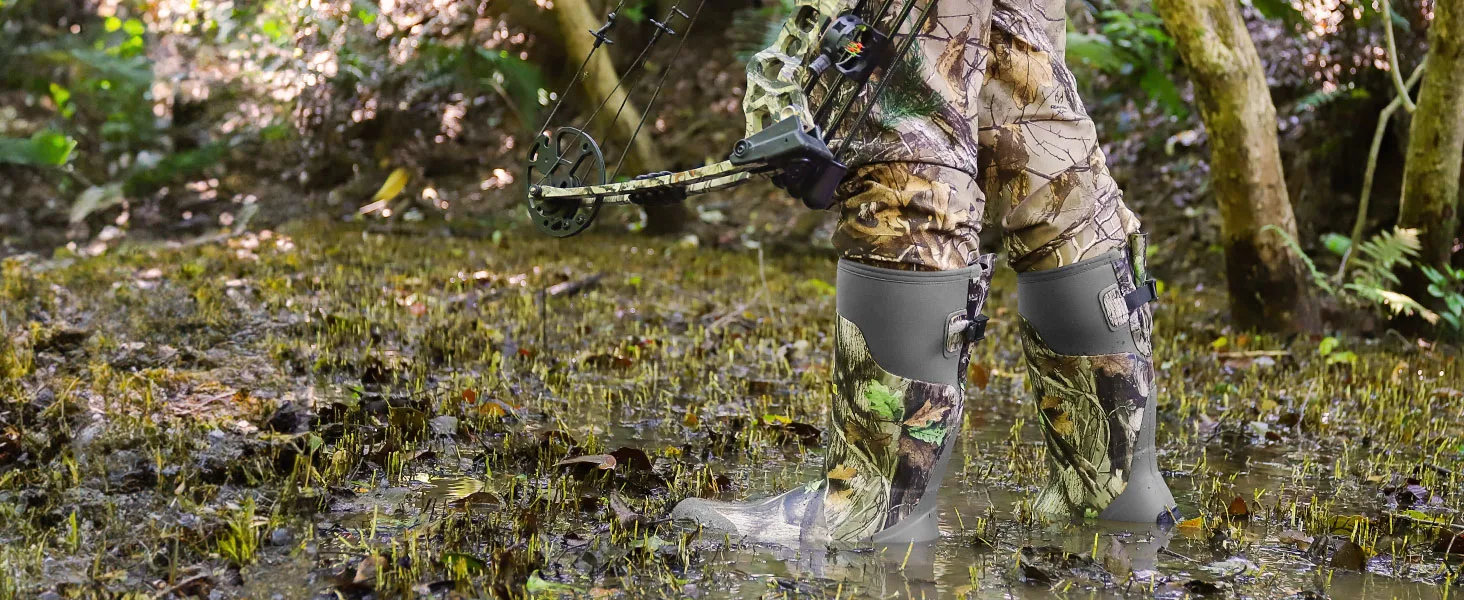
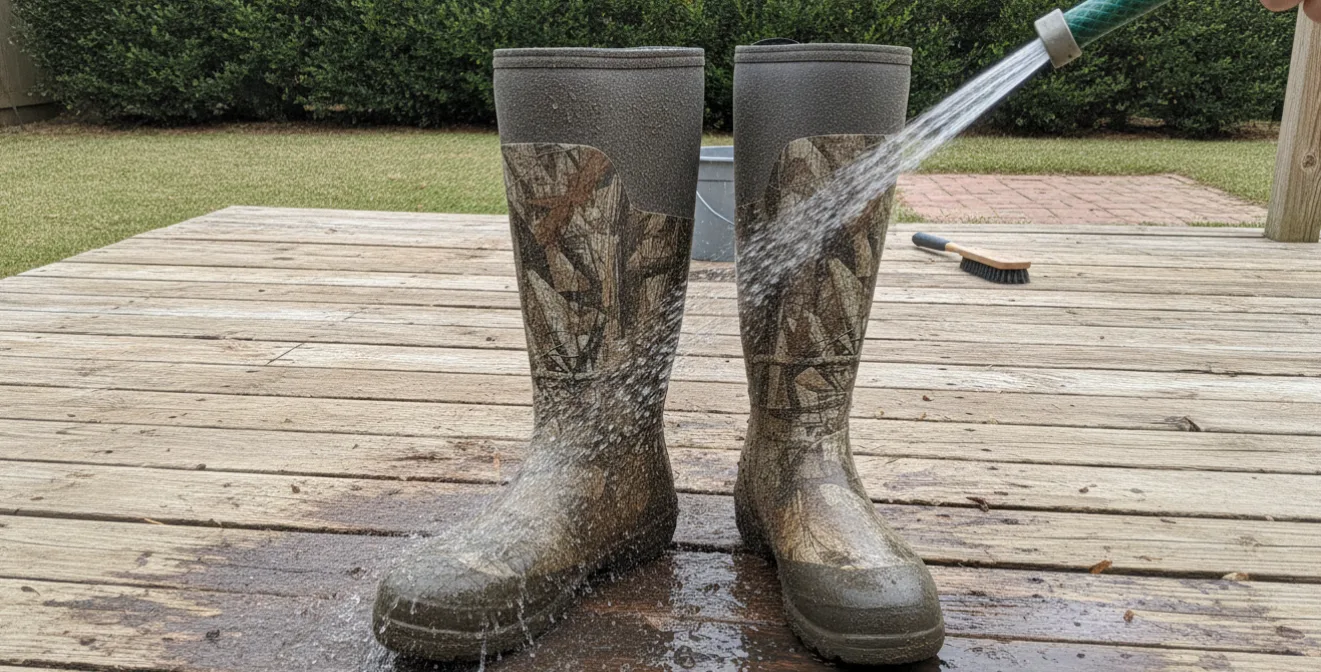
For hunting boots that have been in swamps or muddy fields: rinse the exterior with a garden hose first to get the bulk of debris off, then follow up with the soap wash.
For garden boots after a wet session, just a quick rinse is often enough if the mud is still wet.
Clean the Outsoles
Turn the boots upside down and work the outsole lugs with a stiff brush. Mud packed into the tread doesn’t just look bad, it affects grip. A toothpick or a popsicle stick helps with deep lug channels. Rinse well.
Rinse Thoroughly
Any soap left on rubber can dry into a residue that attracts more dirt and, over time, may dull the surface.
Rinse until the water runs clear. Pay attention to the fold line at the ankle and any texture seams where soap likes to collect.
Wipe Dry
Use a clean cloth or old towel to wipe down the exterior. This removes the bulk of surface water and shortens drying time.
Don’t skip this step even if you’re planning to air-dry. Standing water sitting in seams isn’t ideal.
How to Clean Non-Removable Insoles in The Boots?
Some rubber boots, especially work and hunting styles have insoles bonded into the boot rather than removable ones. They can’t be pulled out and thrown in the wash, so they need a different approach.
- Baking sodais the most accessible deodorizer. Pour a tablespoon or two directly into each boot, tip the boot upside down to spread it across the insole, and let it sit overnight. Tap out in the morning. This works by neutralizing the organic acids that cause odor rather than just masking them.
- Mild soap and a soft brushhandle surface grime. Dampen a brush with a diluted soap solution and scrub the insole surface in small circles. Wipe with a damp cloth, then a dry cloth. The goal is damp cleaning, not saturating the insole.
- White vinegar(diluted 50/50 with water) is a solid antibacterial rinse for boots that have developed real odor problems. Apply with a cloth, let sit for five minutes, then wipe clean. The smell dissipates as it dries.
- Activated charcoal inserts or cedar insertsplaced inside when boots are stored overnight will absorb moisture and prevent odor buildup between wears. This is especially worth doing during high-use seasons.
How to Dry Rubber Boots Safely?
Getting the drying method wrong does more damage than most people realize. Rubber is sensitive to heat in ways that aren’t always obvious in the moment.
Air Drying
The simplest and safest method. After wiping down the exterior, set boots upright in a well-ventilated area.
A spot with a fan running nearby speeds things up considerably. Most boots will dry fully in 12 to 24 hours depending on how wet the interior is.
If the interior liner is soaked, loosen or remove the tongue (on boots that allow it) to let air reach the inside.
Using Newspaper
An old method that still works well. Crumple newspaper loosely and pack it into the boot, not too tight, just enough to fill the space. The paper draws moisture out of the lining through absorption.
Replace the newspaper every few hours if the boots are very wet. A pair of heavily soaked hunting boots can soak through several rounds of newspaper.
Black-and-white newsprint works best; avoid glossy paper, which doesn’t absorb as well.
Drying Wet Boots with Boot Dryer
Hunting often means coming home with genuinely soaked boots after a morning in a flooded field.
The priority sequence to dry your hunting boots is to shake out any standing water, wipe the exterior, pack with newspaper or use a boot dryer, and set upright in a warm room.
Electric boot dryers are worth the investment if you’re regularly hunting or working in wet conditions.
If the boots have thick neoprene liners, plan for 24–36 hours minimum.
Don’t pile wet hunting boots in the back of a vehicle or a closed bag overnight. The lack of airflow encourages mold and bacteria growth in the lining.
Proper Storage Tips For Rubber Boots
How you store rubber boots in the off-season matters as much as how you clean them. Rubber that sits in poor conditions for months can degrade more than a full season of hard use.
Store in a Cool, Dry Place
Aim for a stable temperature, somewhere between 50°F and 70°F (10–21°C). Basements are often a good option.
Humidity is a concern if it’s consistently high. A dehumidifier in the storage area, or silica gel packets stuffed into the boots, will prevent mold from forming on the liner.
Avoid Folding the Shaft
Tall rubber hunting boots are prone to the shaft folding over when stored without support.
The crease that forms at the fold will eventually crack if stressed repeatedly in the same spot. Keep shafts upright.
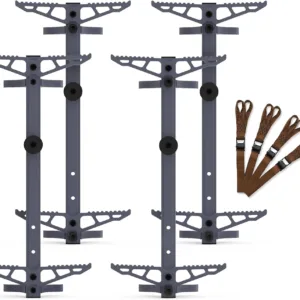
Boot trees or boot shapers designed for rubber or neoprene styles are the right solution. A cheaper option is: roll up a magazine or stuff newspaper loosely into the shaft to give it enough structure to stand.
Some people store boots upside down hanging from a boot rack. This works for air circulation but requires stable support so boots don’t crash off and sit crumpled.
Seasonal Storage Tips
Before storing rubber boots for a full season:
- Clean and dry them completely before putting them away.
- Wipe the exterior with a rubber conditioner or a very light coat of Armor All (for non-hunting use) or a product like 303 Aerospace Protectant to prevent UV oxidation during storage, even in a garage with limited light.
- Store away from any motors or electrical equipment, which emit ozone that accelerates rubber degradation.
- Don’t store in airtight plastic bags because boots need some air exchange.
How to Stretch Rubber Boots for a Better Fit?
Can Rubber Boots Really Be Stretched?
Yes, but with realistic expectations. Rubber is not leather. Leather fibers have enough plasticity that a good stretching can gain a full size or more.
Rubber has much less give, and gains of more than half a size are rare. The shaft circumference is often more stretchable than the length or toe width.
If boots are genuinely too small, stretching is unlikely to solve the problem. If they’re slightly tight across the calf or feel snug in the toes, these methods are worth trying.
Thick Socks Method
The simplest approach: put on the thickest socks you own, wool hunting socks work well. Pull the boots on, and wear them around the house for 30 to 60 minutes.
The combination of body heat and the mechanical pressure from the socks gently pushes the rubber outward. Repeat over several sessions.
This method works best for minor tightness in the toe box or across the forefoot.
Boot Stretcher Method
Two-way boot stretchers can be used in rubber boots with some patience. Insert the stretcher and apply light to moderate tension.
Unlike leather, rubber doesn’t respond to stretching sprays, so skip those. Leave the stretcher in place for 24–48 hours.
For calf tightness on tall boots, look for calf stretcher attachments or a tall shaft-specific stretcher.
What Not to Try
Boiling water — pouring hot water into boots or submerging them to soften the rubber is sometimes suggested online. It can slightly soften the rubber, but the risk of warping the shape or weakening the boot construction is real. Not worth it.
Freezing — filling bags of water inside the boot and freezing them is a method sometimes used for leather sneakers. The expansion forces are not controllable in rubber and can crack stiff rubber in cold conditions.
Heat guns — directed heat can soften rubber for reshaping but requires experience to apply without damaging the surface or construction. Only worth attempting on a boot you’d otherwise discard.
How to Repair Rubber Boots?
A small leak or a peeling sole doesn’t mean a boot is done. Most rubber boot damage is repairable, and doing it early keeps a $150–$300 pair of boots out of the trash.
How to Find a Leak
Fill the boot about two-thirds with water. Plug the opening with your hand (or have someone help hold it closed) and gently squeeze the boot sides while watching for drips or seepage. Pay close attention to seams, the sole edge, and any visible cracks.
For small pinhole leaks, hold the boot up to a bright light inside a dark room. Light will often pass through even tiny holes that water testing might miss.
How to Patch Small Cracks
Clean and dry the area first as repair adhesives won’t bond to dirty or wet rubber. Lightly roughen the surface around the crack with 80-grit sandpaper (for flexible rubber, keep sanding minimal).
Apply a thin layer of flexible rubber adhesive like Aquaseal FD or Shoe Goo using the applicator tip or a toothpick. Work the adhesive into the crack rather than just over the surface.
Let it tack up for 5–10 minutes, then press the crack closed and hold for 60 seconds. Apply a second thin layer over the top and allow a full 24-hour cure before testing.
For a larger surface crack, a rubber patch kit with pre-cut patches provides extra reinforcement.
How to Repair Sole Separation
Sole separation typically happens at the toe part, and is the most common structural failure in rubber boots. It’s also one of the more straightforward fixes.
Clean both surfaces (the outsole flap and the upper where it separated) with rubbing alcohol to remove any dirt or old adhesive. Let dry completely.
Apply Shoe Goo or Barge Contact Cement to both surfaces, allow them to become tacky (5–10 minutes), then press firmly together.
Clamp with binder clips or wrap with athletic tape and let cure for 24–72 hours with some weight on top.
If the separation is large, work from one end to the other rather than pressing the whole surface at once. It helps get a stronger bond without air pockets.
Repair adhesive costs $8–$15. If the boot has two or fewer defined failure points and the rubber body is still flexible, repair it. If you’re patching more than three or four spots in a season, start budgeting for a replacement.
Recommended Rubber Boot Repair Kits
Aquaseal FD: the most versatile option for rubber and neoprene. Stays flexible after curing, which is critical for boot repairs that go through repeated flex cycles. Bonds well to wet surfaces (useful for field-expedient repairs). Widely available at hunting and outdoor retailers.
Shoe Goo: strong adhesive with good durability for sole repairs specifically. Slightly stiffer cure than Aquaseal, which makes it better for the sole-to-upper bond but less ideal for the boot body itself. Available at most hardware stores.
Gear Aid Tenacious Tape: good for temporary field repairs and some boot body patches. Sticks to rubber surfaces and handles flex, but isn’t a permanent fix. Worth keeping in a hunting pack for emergency patching.
McNett Seam Grip: primarily a seam sealer but useful for seam-line leaks where the rubber-to-rubber bond has broken down.
For most people, Aquaseal FD handles 90% of rubber boot repairs well. If you’re dealing with significant sole separation specifically, add a tube of Shoe Goo.
Can You Use Mink Oil on Rubber Boots?
Mink oil is good for leather boots, not rubber boots.
The polymer structure of rubber doesn’t absorb oil the way leather fibers do. Mink oil sits on the rubber surface rather than penetrating it, which means:
- It doesn’t provide any conditioning benefit to the rubber itself.
- The oily residue attracts dirt.
- In warm or humid storage conditions, it can contribute to mold growth on boot liners and interiors.
- It can soften the rubber-to-sole adhesive bond over time if applied near the welt.
Some rubber boots have leather uppers or leather trim combined with a rubber lower. In that specific case, mink oil makes sense for the leather portions only. If you have a pair of leather-rubber-combined boots, you can try products like Red Wing Heritage Mink Oil, Fiebing’s Golden Mink Oil Paste, and Ariat Mink Oil Paste to take care of your boots.
However, you should apply carefully and keep it off the rubber sections.
Better Options for Rubber Boot Conditioning
For conditioning and protecting the rubber itself, these work better:
303 Aerospace Protectant — originally developed for protecting rubber seals in aerospace applications. It restores surface flexibility, provides UV protection, and doesn’t leave an oily residue. One of the most recommended products among hunters and outdoor workers for rubber boot care.
Armor All Original Protectant — widely available and effective for UV protection on rubber. Works well for garden and work boots. Some hunters prefer 303 for hunting boots because Armor All has a mild scent.
Commercial rubber conditioners — products like boot care spray or Bickmore Boot Guard are formulated for rubber and neoprene specifically.
Apply any conditioner to clean, dry boots. A thin coat rubbed in with a cloth every few months or before seasonal storage s all that’s needed.
Common Rubber Boot Care Mistakes
These come up repeatedly, and they’re all easy to avoid once you know what to watch for.
- Leaving mud on boots to dry.Dried mud is harder to remove and, more importantly, it continues to work against the rubber surface. Even a quick rinse before mud dries saves you scrubbing time later and extends boot life.
- Drying boots with direct heat.This is probably the most common mistake among hunters and farm workers. Boots propped against a wood stove or forced-air heater feel dry faster because they are. But the repeated heat stress hardens the rubber, and you’ll start seeing sole delamination and shaft cracking well before the boots should fail.
- Storing boots outdoors.A boot rack by the back door seems convenient until you realize the boots are experiencing daily UV exposure, temperature swings, and occasional moisture. A mudroom hook or indoor shelf adds maybe ten seconds to boot retrieval and meaningfully extends boot life.
- Ignoring small cracks.The instinct is to think “it’s just a surface scratch.” Rubber cracks don’t stay small; they propagate with each flex cycle. A surface crack you could fix in ten minutes with Aquaseal becomes a leak you’re duct-taping in the field if you wait.
- Using harsh chemicals to clean.Bleach, acetone, turpentine, WD-40 these all sound like they’d cut through boot grime, and some do. But they also degrade rubber’s polymer structure, strip plasticizers that keep rubber flexible, and leave residues that attract more dirt. Mild soap and water handle 95% of cleaning jobs.


Add comment