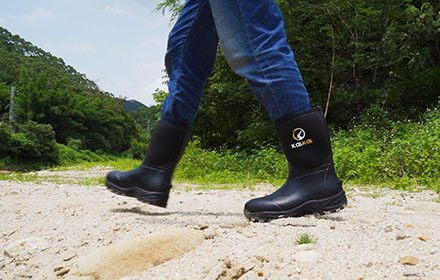
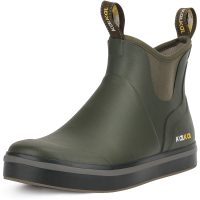
Having a rubber boot which leaks can be a pretty frustrating experience, especially during a rainy season or when you would just like to keep your feet dry. If you find that your rubber boots are starting to leak due to a crack or hole in them, don’t throw them away. Fixing leaking rubber boot is a relatively straight forward process that can be done at home quickly and easily.
In this blog, we will show you a detailed, step-by-step guide to fix a leaking rubber boot, so that you can be assured that once again you can have dry, comfortable feet.
Step 1: Determine the leak’s source
As a first step in beginning the process of fixing leaking rubber boot, you need to identify precisely where the leak is located. In order to find a leak in a rubber boot, there are several methods you can use.
The easiest way to check this is by inspecting the boot for any cracks, holes, or tears that can be seen on the outside.
Fill the boot with water
Additionally, you can fill the boots with water and observe where the water seeps out.
Walk around in boot
Alternatively, you can put the boot on and walk around for a while in it. When there is a leak, you may feel wetness on the area where the leak is taking place.
Inspect the seams
In rubber boots, leaks frequently occur at the seams, so make sure you carefully examine all of the seams at the front and back of the boot.
Check the soles
A rubber boot’s sole is also an area that has a high possibility of leaking, so check it closely for any cracks or holes that may appear.
Having identified where the leak is coming from, you will be much better prepared to deal with the leak effectively.
Step 2: Clean and Dry the leaking Area
Once you have identified the source of the leak, it is essential that you thoroughly clean and dry the affected area before attempting any repairs on the affected area.
Clean the boot gently with mild detergent and warm water, making sure that no dirt or debris is left behind. Allow the boot to air dry completely before moving on to the next step.
Step 3: Apply Rubber Sealant or Adhesive
Several methods are available to fix a leaking rubber boot. One of the most effective methods is to apply a rubber sealant or adhesive specifically designed for waterproofing. Generally, these products can be found in most hardware stores or can also be bought online.
Follow the manufacturer’s instructions carefully to ensure that the sealant or adhesive is applied directly on the leaky area, ensuring that the area is thoroughly and evenly covered. You should wait until the product has dried completely before attempting to check the boot for any remaining leaks.
Step 4: Test the Repaired Boot
It is imperative to test the repaired boot after the sealant or adhesive has dried in order to ensure that any leaks that have occurred have been correctly repaired. Fill the boot with water once again and observe if any new leaks appear. If you do not see any moisture in the boot, that means you have successfully fixed your leaking rubber boot. Should new leaks be found, repeat steps 3 and 4 until the boot is completely sealed against the water.
Step 5: Maintain and Prevent Future Leaks
To keep your rubber boots in good condition, you can take a few steps to help do so:
Choose a boot that is made of high-quality materials so that it will be able to withstand the elements.
Then, make sure you inspect the boot regularly for any cracks or holes that may have developed.
It is very important that you perform regular maintenance on your rubber boot if you wish to ensure that it lasts as long as possible and ensure that future leaks are prevented.
When you are done using the boots, make sure that they are thoroughly cleaned and then allowed to dry completely before storing them away.
Also, make sure that the boots are not exposed to extreme temperatures or harsh chemicals, as these can deteriorate the rubber material and cause leaks.
Fix leaking rubber boot doesn’t have to be a complicated or expensive undertaking. Take action as soon as possible if you discover a leak and repair it as soon as you can. By following the step-by-step guide to fix a leaking rubber boot outlined in this blog, you can easily repair your boot and enjoy dry feet once again.
Remember to identify the source of the leak, clean and dry the affected area, apply a rubber sealant or adhesive, test the repaired boot, and practice regular maintenance to prevent future leaks. Keep these simple tips in mind, you can extend the lifespan of your rubber boots.


Leave a reply