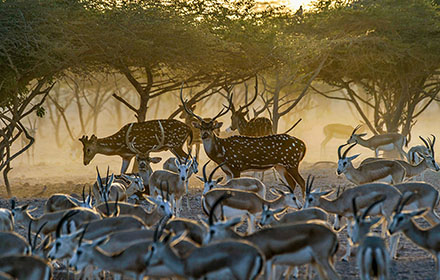
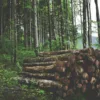
Deer hunting is a popular sport and a good way to provide your family with organic, healthy, and sustainable protein. A successful deer harvest doesn’t mean your work ends there. You need to butcher a deer, and then quarter and clean it properly in order to maintain meat’s quality and safety.
This guide will walk you step by step through the process of field-dressing a deer.
Tools You Need To Quarter Deer
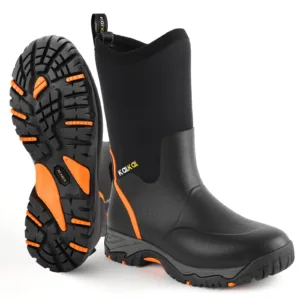
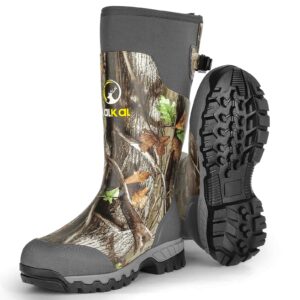
Having the right tools and workspace is vital for you to easily butcher a deer. You will need:
- A sharp knife (ideally a hunting or boning knife)
- A knife sharpener
- A saw or bone saw (for cutting through bone)
- A gambrel or other hanging system
- A clean, flat surface (such as a large cutting board or table)
- Food-safe gloves
- Plastic bags or containers for storing deer meat
- A cooler with ice or ice packs
Be sure to sanitize and clean up the work area to ensure that there will be no contamination of the meat during this process.
In addition, be sure to allow yourself enough time to get through the whole process without interruption, as it can take several hours to complete.
How To Field Dress a Deer?
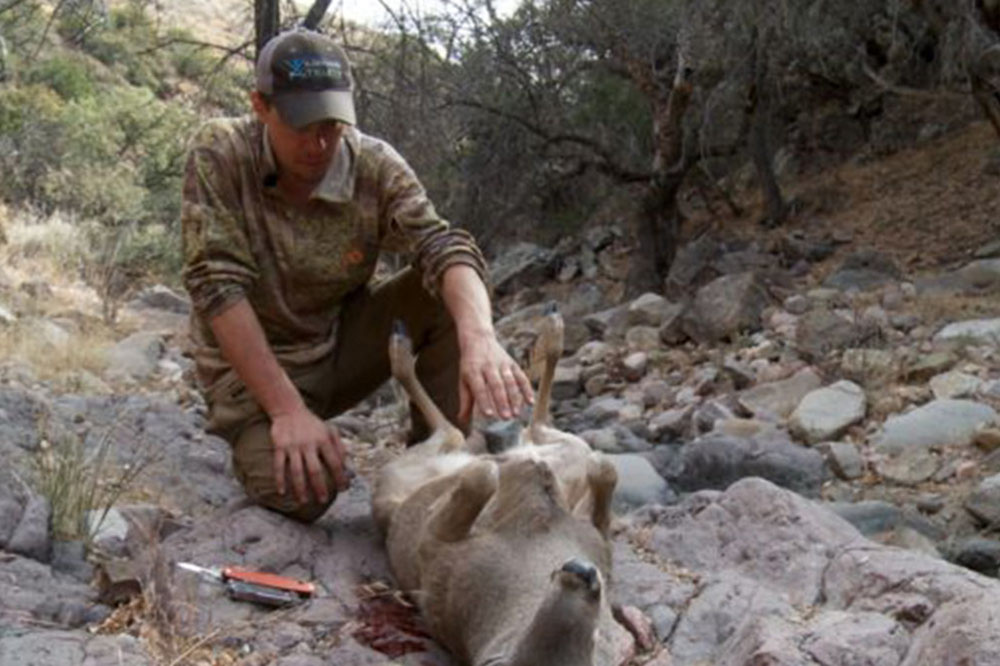
A field dressing should be performed as soon as possible after deer are harvested. The steps involved in this process are:
- Remove the internal organs, make the carcass cool down, and prevent bacteria from growing on it.
- Place the deer on its back with its head facing uphill. This will facilitate blood drainage out of the body cavity.
- Put on your gloves, and make a shallow cut along the belly’s midline, beginning at the sternum and ending near the anus. Intestinal punctures should be avoided.
- Separate the internal organs from the skin and muscles by using your fingers. To make this process easier, you may need to make small cuts with your knife.
- Divide the chest cavity from the abdominal cavity by cutting around the diaphragm. The stomach and intestines should not be punctured while performing this procedure.
- By pulling them out of the body cavity, remove the internal organs. To free them, you may have to cut through the connective tissue to do so.
- Remove the lower digestive tract from the pelvis by cutting through it. It is very important not to puncture the bladder or intestines while doing this.
- Use a stick or small log to prop the body cavity open to allow air circulation and help cool the carcass.
Skinning The Deer
Following that, you will need to remove the hide from the deer. You can skin the deer while it’s hanging or lying on a flat surface.
Use a gambrel or other hanging system to hang the deer’s head or neck. If you prefer, you can lay the deer on its side on a flat surface.
Around each leg, make a small cut just above the knee.
Make a shallow incision inside each leg, between the knee joint and the body cavity, to connect the cuts. Start at the legs, then work towards the body as you separate the hide from the muscle tissue.
Continue skinning the deer by pulling the hide away from the muscle and making small cuts to separate the connective tissue.
Attempt to remove the hide in one piece as you work around the entire deer.
Quartering A Deer In The Field
Quartering the deer begins after the hide is removed. During this step, deer are broken down into manageable pieces to be butchered later.
By cutting through the shoulder joint, remove the front legs.
Cut the spine, from the pelvis to the last rib, to remove the hindquarters. Cut through the hip joint and remove the entire hindquarters.
Making cuts along each side of the spine and pulling the backstrap away from the bone will separate the backstrap from the rest of the carcass.
Remove the tenderloins (the smaller muscles located on the inside of the body cavity) by making a cut along each side of the spine and pulling the tenderloins away from the bone.
Using a saw or bone saw, separate the ribs from the spine by cutting through the ribcage.
Butchering The Deer

The deer has now been quartered, and it’s time to break it down into individual cuts of meat. Check the deer meat cuts diagram above. The basic steps are as follows:
Front Legs (Shoulders): The shoulder is divided into two parts: the shoulder roast and the neck roast. During the procedure, remove any excess fat or connective tissue.
Hindquarters: The hindquarters are cut into four cuts: sirloin tip, top round, bottom round, and eye of round.
Backstrap: If the backstrap has excess fat or silver skin, trim it off and cut it into steaks or roast it whole.
Tenderloins: If there is any excess fat or silver skin on the tenderloins, trim it and slice it into individual medallions or roast it whole.
Ribs: You can either leave the ribs whole or separate them into individual pieces. Remove any excess fat or connective tissue.
Neck and Miscellaneous Meat: You can use the meat from the neck and other parts to make ground meat, stew meat, or sausage.
Cleaning and Storing the Meat
In order to ensure the safety and quality of the meat, it must be cleaned properly and stored appropriately. You should take some steps to protect the meat after field dressing a game.
1. Proper Cleaning and Handling
If there is any dirt, hair, or debris on the meat cut, rinse it thoroughly with cold water. Using paper towels or letting the meat air dry is a good way to dry the meat.
2. Keep it Covered
Make sure that each cut of meat is wrapped tightly in plastic wrap or butcher paper in order to avoid air contact. The cut of meat and the date of processing should be clearly labeled on each package.
3. Cool the Meat
Make sure the meat is stored in a cooler with ice or ice packs until you can get home and put it in the freezer. For meat to be stored properly, its ideal temperature has to be below 0°F (-18°C).
Whether to freeze or refrigerate your venison will depend on when you plan to consume it. If you plan to cook the meat, thaw it in the fridge or under cold running water. If you thaw meat at room temperature, bacteria may grow.
Conclusion
It may seem daunting at first, but with practice and the right tools, butchering, quartering, and cleaning a deer in the field becomes an enjoyable process. With these steps, you are able to provide your family with fresh, sustainable, and organic protein and feel more accomplished by doing so.

Add comment