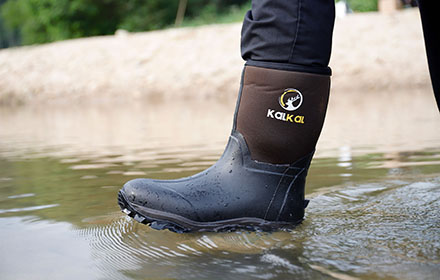
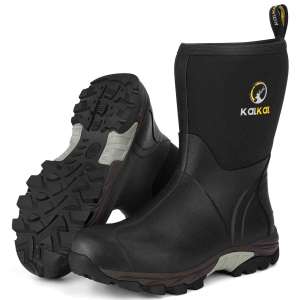
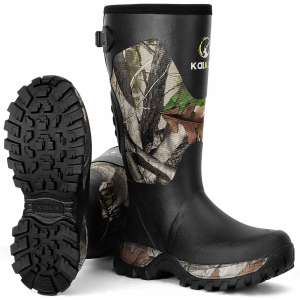
Rubber boots are known for their durability and versatility. However, like any other footwear, rubber boots can also experience wear and tear over time. If you are thinking about discarding your favorite pair of rubber boots, then why not consider repairing them instead?
In this blog, we will provide you with a step-by-step guide on how to repair rubber boots based on various issues that you might encounter, enabling you to extend their lifespan and save money.
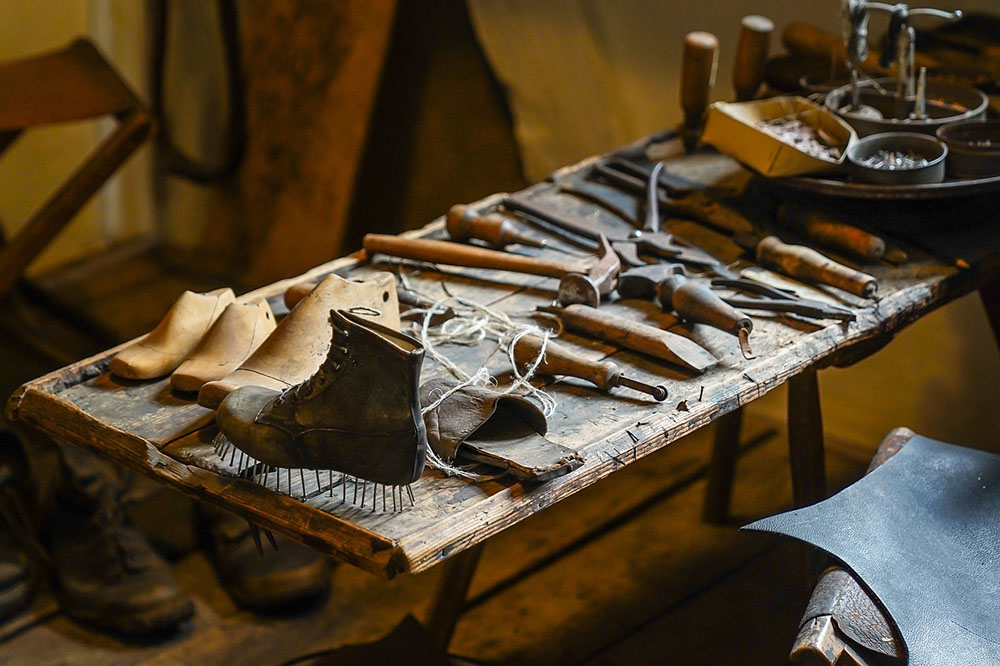
If your rubber boots have holes, you should repair them as soon as possible. Different repair methods and repair kits can be used depending on the size of the issues you are trying to repair.
Fix Crack or Small Holes In Your Rubber Boot
What materials you will need:
You will need the following materials on hand before you begin to repair rubber boots, so be sure to have them available before you begin to work.
– Rubber repair adhesive
– Sandpaper or a rough cloth
– A clean cloth
– A small brush or sponge
Step 1: Prepare the surface
The first thing you need to do is use a clean cloth to clean the area around the hole. This will ensure that the adhesive bonds properly with the rubber surface. The adhesion strength of adhesives can be greatly reduced if they are used on dirty surfaces.
It would be a good idea to lightly sand the area around the hole with sandpaper or a rough cloth to improve adhesion. It is important to not to sand too aggressively in order to prevent the rubber surrounding the sandpaper from being damaged.
Step 2: Apply the adhesive
Once the surface has been cleaned and prepped, apply a small amount of rubber repair adhesive to the hole. Spread the adhesive evenly over the damaged area with a brush or sponge and use a sponge to remove excess adhesive.
You should ensure that you follow the directions provided along with the adhesive, since different products may require different application techniques. For a strong and durable bond, allow the adhesive to dry for the recommended amount of time.
Step 3: Apply the rubber patch
Apply a layer of adhesive to both the rubber patch and the surrounding area, then carefully position the patch over the hole. Press down on the patch firmly to ensure proper adhesion.
Step 4: Finishing touches
After the adhesive has dried completely, check the repaired area to see if there are any rough edges or areas of excess adhesive. Use sandpaper or a rough cloth to smooth out any imperfections on the surface.
Fix Large Holes In Your Rubber Boot
What materials you will need:
– A clean cloth
– Adhesive
– Sandpaper
– A piece of rubber that matches the boots’ color
Step 1: Prepare the hole
Start by cleaning the surface around the hole using a clean cloth. During this process, you will be able to remove any dirt, grease, or debris that may be hindering the adhesion process. Then allow them to completely dry.
Step 2: Take a rubber patch
Take a piece of rubber patch or sheet that is slightly larger in size than the hole. The patch should be large enough to cover the entire hole completely, and there should be some overlap onto the surrounding area as well.
Step 3: Sand the hole and rubber patch
For better adhesion, lightly sand both the hole in the boot and the backside of the rubber patch using sandpaper.
Step 4: Attach the rubber patch
Make sure you apply adhesive to the rubber piece as well as the area around the hole before adhering it above the hole. Take care to apply an even amount of pressure to the boot patch, ensuring a strong bond is formed. Wipe any excess adhesive off.
Step 5: Allow time for drying
After attaching the patch, allow it for sufficient time to dry according to the manufacturer’s instructions.
When it comes to footwear, rubber boots are thought to be a reliable and practical option as they serve as a protective barrier that can keep your feet protected from damp and muddy conditions.
You should make sure that when you are engaged in any kind of outdoor activities, you have a good pair of rubber boots on hand at all times.
Using the right materials and techniques, along with a little effort, if you have cracks, small holes, or large holes in your rubber boots, you will know how to repair them easily and extend their lifespan, thus saving you plenty of money in the long run.
Some rubber boots may develop leaks from time to time, and you may wonder how to take care of them, or what the best methods are to fix them.
Here is a blog that can be highly helpful. Guide to Fix A Leaking Rubber Boot.


Leave a reply